Utilizando crontab
Vamos empezando con un ejemplo simple.
Vamos a automatizar la actualización de un sistema, para eliminar la molesta de “siempre tengo que andar actualizando y eso no me gusta!”.
Primero que nada haremos un script. Este script será llamado por cron y contendrá todas las instrucciones que queremos que haga, por lo tanto es necesario probarlo en varios casos y de varias formas antes de incluirlo a cron, un sencillo script de actualizacion como este:
#!/bin/bash
#script ejemplo de actualizacion
#elija su distribucion
#debian-ubuntu
#apt-get update & apt-get -y upgrade
#fedora
#yum -y update
#Arch
#pacman --noconfirm -Syu
Quitale el # a la línea de tu distro. En caso de que sea Ubuntu/Debian, a la que empieza con apt-get.
Guardamos el script como actualizacion.sh (ej. directorio scripts tu home). Cambiamos los permisos de ejecucion del dichoso script con:
chmod a+x ~/scripts/actualizacion.sh
Ejecutamos el script un par de veces para verificar que todo ejecute sin problemas, modificamos lo necesario (no debe contener errores, si no cron solo repetira un error una y otra vez). Ahora a agregar la tarea a nuestro crontab.
Agregar tareas a crontab
Ejecutamos la edición del crontab con crontab -e, en algunas distros (como ubuntu) nos da la opcion de elegir el editor de textos que deseemos, los demás nos quedamos con vi. El archivo crontab lucirá algo asi.
# m h dom mon dow user command
donde:
Para que quedara claro unos cuantos ejemplos de tareas de cron explicados:
15 10 * * * usuario /home/usuario/scripts/actualizar.sh
Ejecutará el script actualizar.sh a las 10:15 a.m. todos los días
15 22 * * * usuario /home/usuario/scripts/actualizar.sh
Ejecutará el script actualizar.sh a las 10:15 p.m. todos los días
00 10 * * 0 root apt-get -y update Usuario root
Ejecutará una actualización todos los domingos a las 10:00 a.m
45 10 * * sun root apt-get -y update
Usuario root ejecutará una actualización todos los domingos (sun) a las 10:45 a.m
30 7 20 11 * usuario /home/usuario/scripts/actualizar.sh
El día 20 de noviembre a las 7:30 el usuario correra el script
30 7 11 11 sun usuario /home/usuario/scripts/pastel_con_velitas.sh
El día 11 de noviembre a las 7:30 a.m. y que sea domingo, el usuario festejará su sysadmin (o sea a mí)
01 * * * * usuario /home/usuario/scripts/molestorecordatorio.sh
Un molesto recordatorio cada minuto de cada hora todos los días (NO recomendable).
Igual se pueden manejar rangos especiales:
30 17 * * 1,2,3,4,5
A las 5:30 de la tarde todos los días de lunes a viernes.
00 12 1,15,28 * *
A las 12 del día todos los días primero, quince y 28 de cada mes (ideal para nóminas)
Si esto resulta confuso, crontab maneja cadenas especiales para definir estos rangos.
@reboot Ejecuta una vez, al inicio
@yearly ejecuta sólo una vez al año: 0 0 1 1 * @annually igual que @yearly @monthly ejecuta una vez al mes, el día primero: 0 0 1 * * @weekly Semanal el primer minuto de la primer hora de la semana. 0 0 * * 0″. @daily diario, a las 12:00A.M. 0 0 * * * @midnight igual que @daily @hourly al primer minuto de cada hora: 0 * * * *
Su uso es muy sencillo.
@hourly usuario /home/usuario/scripts/molestorecordatorio.sh
@monthly usuario /home/usuario/scripts/respaldo.sh
@daily root apt-get update && apt-get -y upgrade
Por último y no menos importante:
Administracion de trabajos en cron
crontab archivo
Remplaza el existente archivo crontab con un archivo definido por el usuario
crontab -e
Editar el archivo crontab del usuario, cada linea nueva sera una nueva tarea de crontab.
crontab -l
Lista todas las tareas de crontab del usuario
crontab -d
Borra el crontab del usuario
crontab -c dir
Define el directoriod e crontab del usuario (este debe tener permisos de escritura y ejecucion del usuario)
crontab -u usuario
prefijo para manejar el crontab de otro usuario, ejemplos:
$ sudo crontab -l -u root
$ sudo crontab -e usuario2
#crontab -d -u usuario
Fuente: https://blog.desdelinux.net/cron-crontab-explicados/ |
Crontab Linux
Cómo mostrar mensaje de advertencia en el servicio ssh en Ubuntu server
Entramos en el siguiente archivosudo nano /etc/ssh/sshd_configEn este archivo de configuración de sshd se controla el mensaje que se muestra con la clave: Banner /etc/issue.netAsí que hacemos copia de seguridad del mensaje con sudo cp /etc/issue.net /etc/issue.net.originalLo editamos con: sudo nano /etc/issue.netY ponemos en el archivo el mensaje de arriba u otro que consideremos oportuno. Guardamos y salimos de nano. Después reinicamos el servicio sshd con: sudo service ssh restart
Cremos la imagen en el siguiente enlace https://www.topster.es/ascii-generator/
|
Instalar Linux, Apache, MySQL, PHP (LAMP) en Ubuntu 18.04
AQUÍ LA WEB ORIGINALIntroduction
A "LAMP" stack is a group of open source software that is typically installed together to enable a server to host dynamic websites and web apps. This term is actually an acronym which represents the Linux operating system, with the Apache web server. The site data is stored in a MySQL database, and dynamic content is processed by PHP.
In this guide, we will install a LAMP stack on an Ubuntu 18.04 server.
Prerequisites
In order to complete this tutorial, you will need to have an Ubuntu 18.04 server with a non-root
sudo-enabled user account and a basic firewall. This can be configured using our initial server setup guide for Ubuntu 18.04.Step 1 — Installing Apache and Updating the Firewall
The Apache web server is among the most popular web servers in the world. It's well-documented and has been in wide use for much of the history of the web, which makes it a great default choice for hosting a website.
Install Apache using Ubuntu's package manager,
apt:
Since this is a
sudo command, these operations are executed with root privileges. It will ask you for your regular user's password to verify your intentions.
Once you've entered your password,
apt will tell you which packages it plans to install and how much extra disk space they'll take up. Press Y and hit ENTER to continue, and the installation will proceed.Adjust the Firewall to Allow Web Traffic
Next, assuming that you have followed the initial server setup instructions and enabled the UFW firewall, make sure that your firewall allows HTTP and HTTPS traffic. You can check that UFW has an application profile for Apache like so:
If you look at the
Apache Full profile, it should show that it enables traffic to ports 80 and 443:
Allow incoming HTTP and HTTPS traffic for this profile:
You can do a spot check right away to verify that everything went as planned by visiting your server's public IP address in your web browser (see the note under the next heading to find out what your public IP address is if you do not have this information already):
You will see the default Ubuntu 18.04 Apache web page, which is there for informational and testing purposes. It should look something like this:
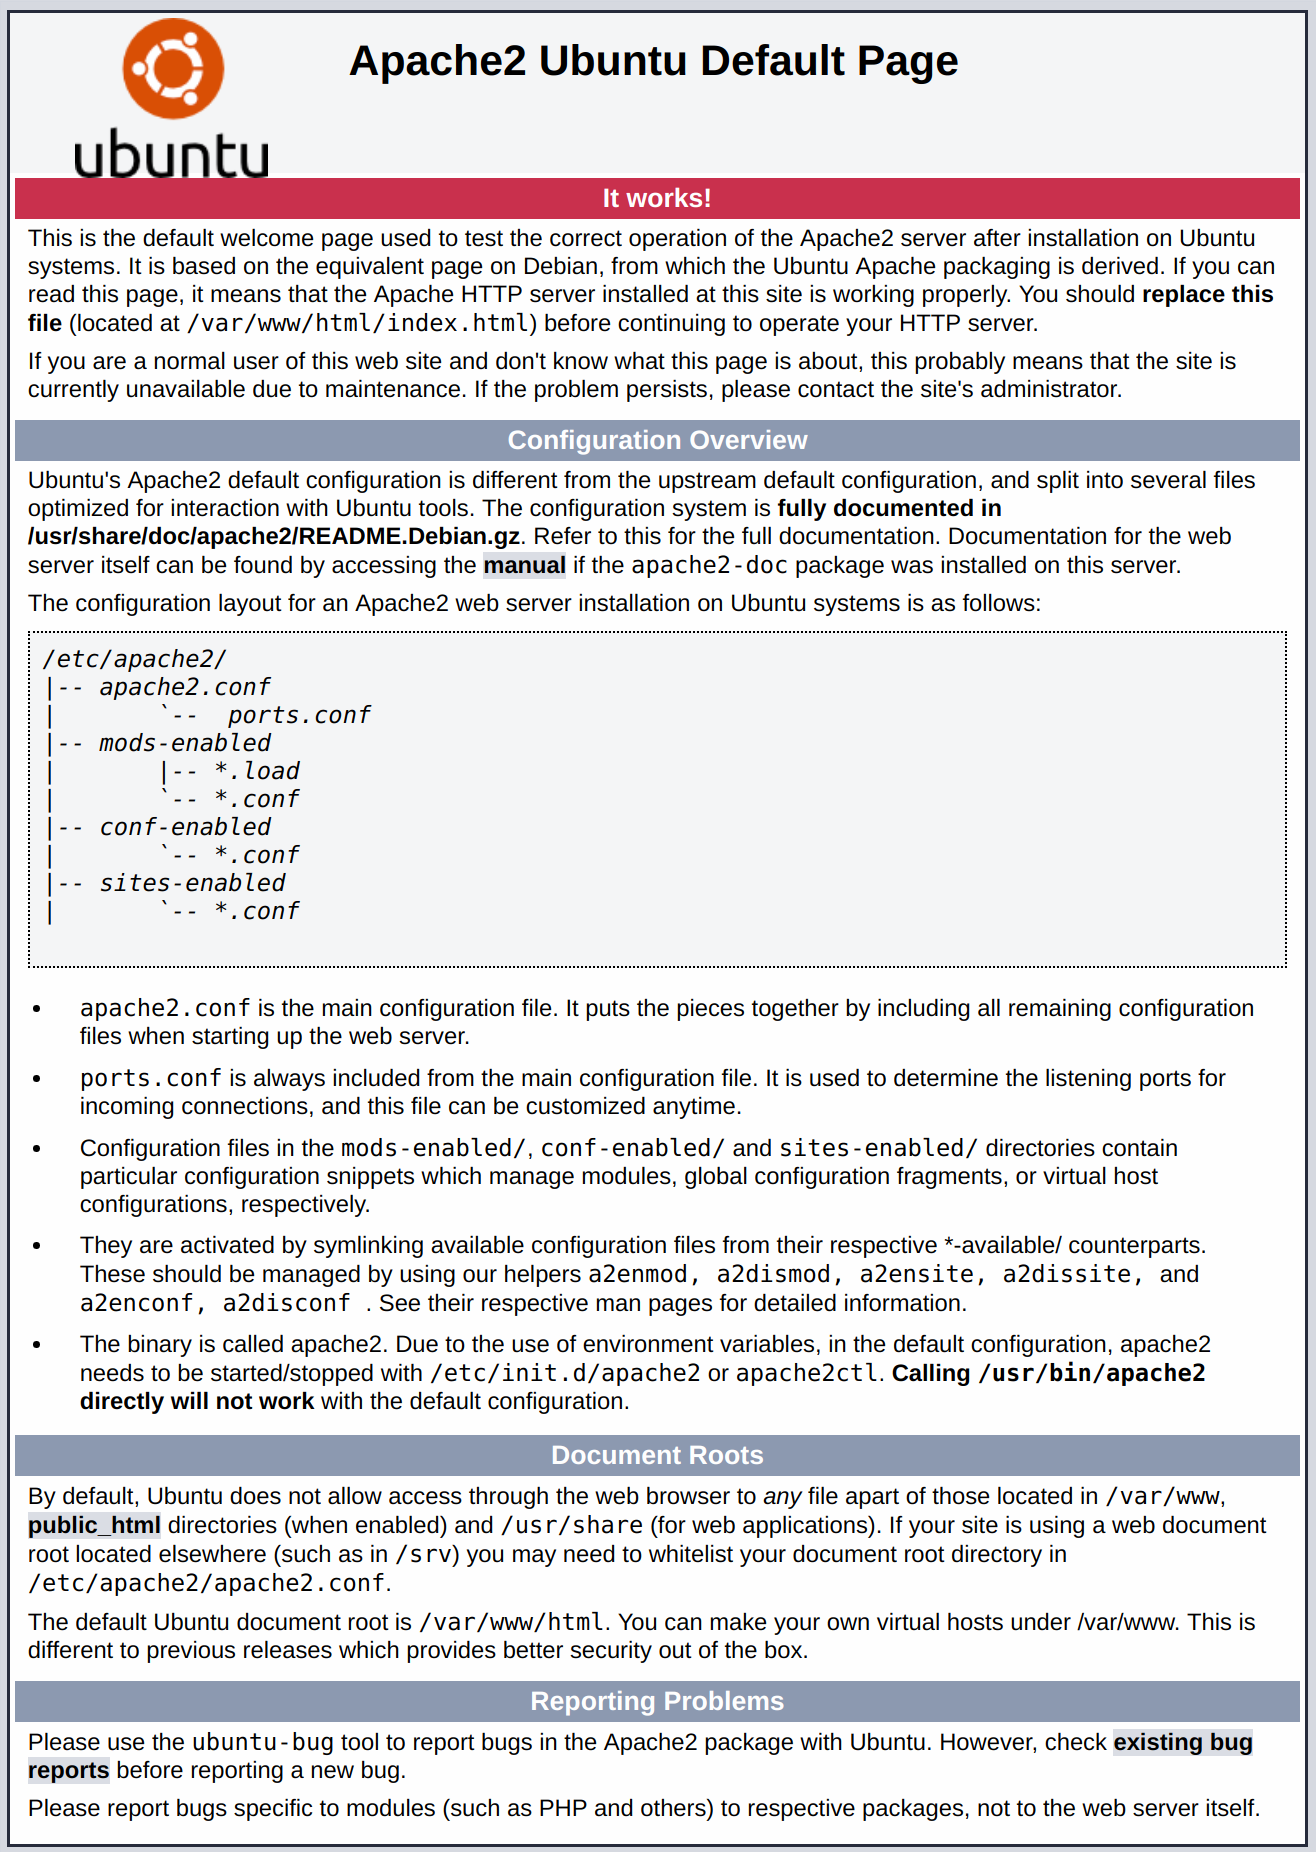
If you see this page, then your web server is now correctly installed and accessible through your firewall.
How To Find your Server's Public IP Address
If you do not know what your server's public IP address is, there are a number of ways you can find it. Usually, this is the address you use to connect to your server through SSH.
There are a few different ways to do this from the command line. First, you could use the
iproute2 tools to get your IP address by typing this:
This will give you two or three lines back. They are all correct addresses, but your computer may only be able to use one of them, so feel free to try each one.
An alternative method is to use the
curl utility to contact an outside party to tell you how it sees your server. This is done by asking a specific server what your IP address is:
Regardless of the method you use to get your IP address, type it into your web browser's address bar to view the default Apache page.
Step 2 — Installing MySQL
Now that you have your web server up and running, it is time to install MySQL. MySQL is a database management system. Basically, it will organize and provide access to databases where your site can store information.
Again, use
apt to acquire and install this software:
Note: In this case, you do not have to run
sudo apt update prior to the command. This is because you recently ran it in the commands above to install Apache. The package index on your computer should already be up-to-date.
This command, too, will show you a list of the packages that will be installed, along with the amount of disk space they'll take up. Enter
Y to continue.
When the installation is complete, run a simple security script that comes pre-installed with MySQL which will remove some dangerous defaults and lock down access to your database system. Start the interactive script by running:
This will ask if you want to configure the
VALIDATE PASSWORD PLUGIN.
Note: Enabling this feature is something of a judgment call. If enabled, passwords which don't match the specified criteria will be rejected by MySQL with an error. This will cause issues if you use a weak password in conjunction with software which automatically configures MySQL user credentials, such as the Ubuntu packages for phpMyAdmin. It is safe to leave validation disabled, but you should always use strong, unique passwords for database credentials.
Answer
Y for yes, or anything else to continue without enabling.
If you answer “yes”, you'll be asked to select a level of password validation. Keep in mind that if you enter
2 for the strongest level, you will receive errors when attempting to set any password which does not contain numbers, upper and lowercase letters, and special characters, or which is based on common dictionary words.
Regardless of whether you chose to set up the
VALIDATE PASSWORD PLUGIN, your server will next ask you to select and confirm a password for the MySQL root user. This is an administrative account in MySQL that has increased privileges. Think of it as being similar to the root account for the server itself (although the one you are configuring now is a MySQL-specific account). Make sure this is a strong, unique password, and do not leave it blank.
If you enabled password validation, you'll be shown the password strength for the root password you just entered and your server will ask if you want to change that password. If you are happy with your current password, enter
N for "no" at the prompt:
For the rest of the questions, press
Y and hit the ENTER key at each prompt. This will remove some anonymous users and the test database, disable remote root logins, and load these new rules so that MySQL immediately respects the changes you have made.
Note that in Ubuntu systems running MySQL 5.7 (and later versions), the root MySQL user is set to authenticate using the
auth_socket plugin by default rather than with a password. This allows for some greater security and usability in many cases, but it can also complicate things when you need to allow an external program (e.g., phpMyAdmin) to access the user.
If you prefer to use a password when connecting to MySQL as root, you will need to switch its authentication method from
auth_socket to mysql_native_password. To do this, open up the MySQL prompt from your terminal:
Next, check which authentication method each of your MySQL user accounts use with the following command:
In this example, you can see that the root user does in fact authenticate using the
auth_socket plugin. To configure the root account to authenticate with a password, run the following ALTER USER command. Be sure to change password to a strong password of your choosing:
Then, run
FLUSH PRIVILEGES which tells the server to reload the grant tables and put your new changes into effect:
Check the authentication methods employed by each of your users again to confirm that root no longer authenticates using the
auth_socket plugin:
You can see in this example output that the root MySQL user now authenticates using a password. Once you confirm this on your own server, you can exit the MySQL shell:
At this point, your database system is now set up and you can move on to installing PHP, the final component of the LAMP stack.
Step 3 — Installing PHP
PHP is the component of your setup that will process code to display dynamic content. It can run scripts, connect to your MySQL databases to get information, and hand the processed content over to your web server to display.
Once again, leverage the
apt system to install PHP. In addition, include some helper packages this time so that PHP code can run under the Apache server and talk to your MySQL database:
This should install PHP without any problems. We'll test this in a moment.
In most cases, you will want to modify the way that Apache serves files when a directory is requested. Currently, if a user requests a directory from the server, Apache will first look for a file called
index.html. We want to tell the web server to prefer PHP files over others, so make Apache look for an index.php file first.
To do this, type this command to open the
dir.conf file in a text editor with root privileges:
It will look like this:
/etc/apache2/mods-enabled/dir.conf
Move the PHP index file (highlighted above) to the first position after the
DirectoryIndex specification, like this:
/etc/apache2/mods-enabled/dir.conf
When you are finished, save and close the file by pressing
CTRL+X. Confirm the save by typing Y and then hit ENTER to verify the file save location.
After this, restart the Apache web server in order for your changes to be recognized. Do this by typing this:
You can also check on the status of the
apache2 service using systemctl:
To enhance the functionality of PHP, you have the option to install some additional modules. To see the available options for PHP modules and libraries, pipe the results of
apt search into less, a pager which lets you scroll through the output of other commands:
Use the arrow keys to scroll up and down, and press
Q to quit.
The results are all optional components that you can install. It will give you a short description for each:
To learn more about what each module does, you could search the internet for more information about them. Alternatively, look at the long description of the package by typing:
There will be a lot of output, with one field called
Description which will have a longer explanation of the functionality that the module provides.
For example, to find out what the
php-cli module does, you could type this:
Along with a large amount of other information, you'll find something that looks like this:
If, after researching, you decide you would like to install a package, you can do so by using the
apt install command like you have been doing for the other software.
If you decided that
php-cli is something that you need, you could type:
If you want to install more than one module, you can do that by listing each one, separated by a space, following the
apt install command, like this:
At this point, your LAMP stack is installed and configured. Before making any more changes or deploying an application, though, it would be helpful to proactively test out your PHP configuration in case there are any issues that should be addressed.
Step 4 — Testing PHP Processing on your Web Server
In order to test that your system is configured properly for PHP, create a very basic PHP script called
info.php. In order for Apache to find this file and serve it correctly, it must be saved to a very specific directory, which is called the "web root".
In Ubuntu 18.04, this directory is located at
/var/www/html/. Create the file at that location by running:
This will open a blank file. Add the following text, which is valid PHP code, inside the file:
info.php
When you are finished, save and close the file.
Now you can test whether your web server is able to correctly display content generated by this PHP script. To try this out, visit this page in your web browser. You'll need your server's public IP address again.
The address you will want to visit is:
The page that you come to should look something like this:
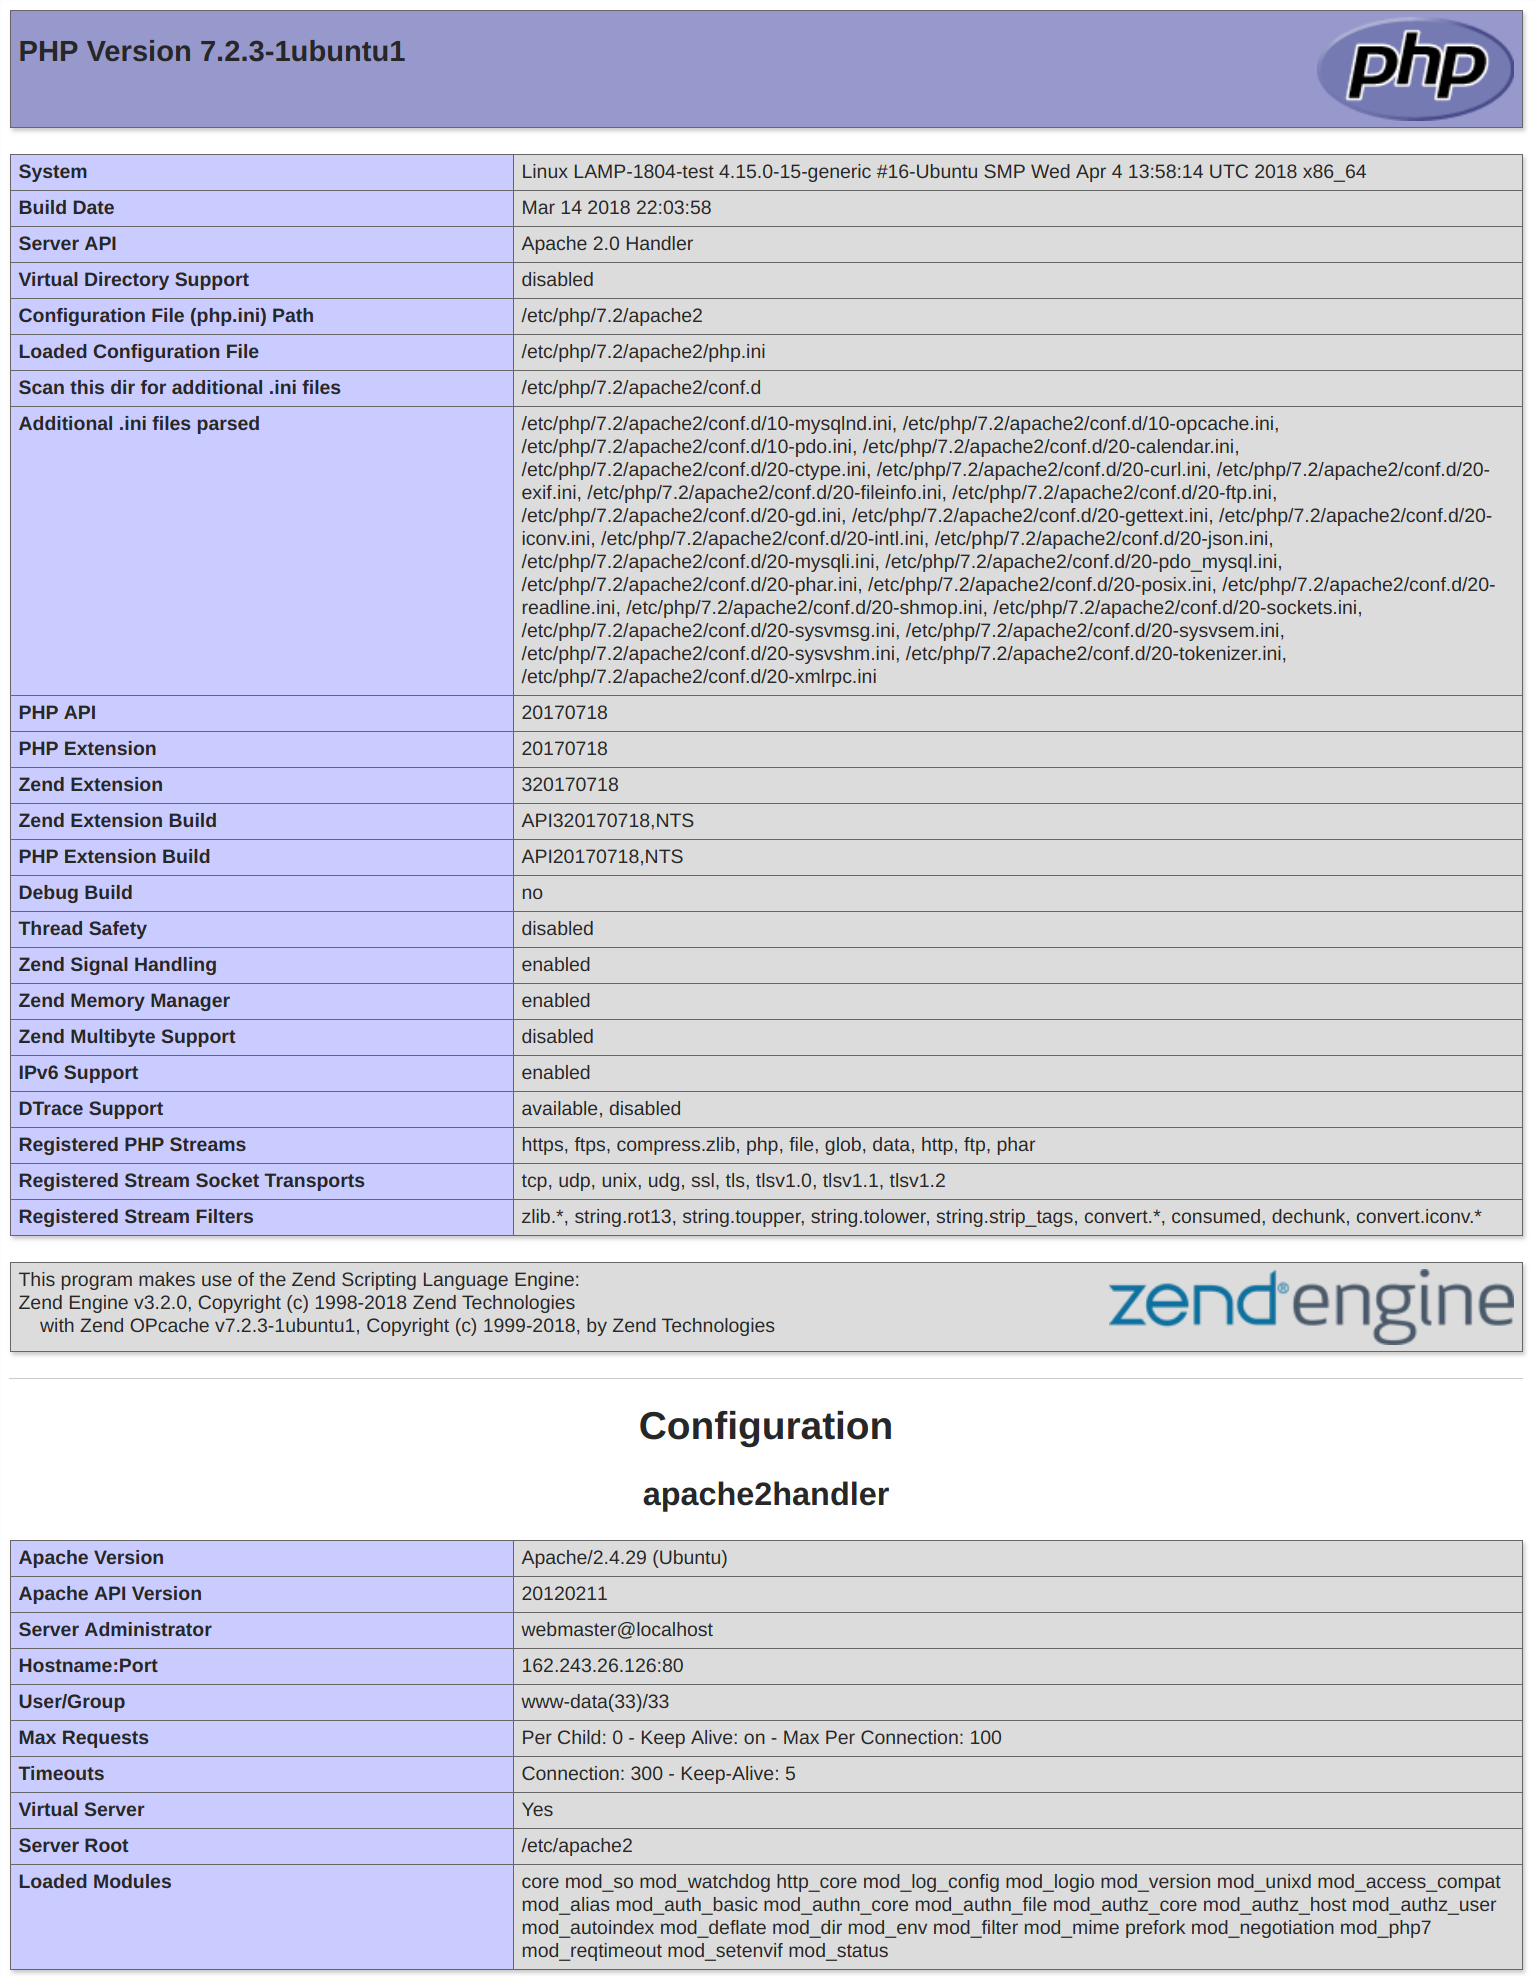
This page provides some basic information about your server from the perspective of PHP. It is useful for debugging and to ensure that your settings are being applied correctly.
If you can see this page in your browser, then your PHP is working as expected.
You probably want to remove this file after this test because it could actually give information about your server to unauthorized users. To do this, run the following command:
You can always recreate this page if you need to access the information again later.
Conclusion
Now that you have a LAMP stack installed, you have many choices for what to do next. Basically, you've installed a platform that will allow you to install most kinds of websites and web software on your server.
As an immediate next step, you should ensure that connections to your web server are secured, by serving them via HTTPS. The easiest option here is to use Let's Encrypt to secure your site with a free TLS/SSL certificate.
Some other popular options are:
|
Suscribirse a:
Entradas (Atom)